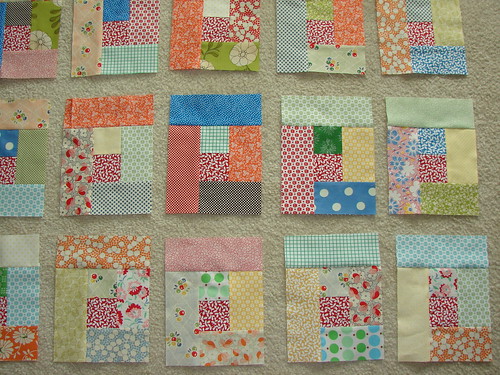
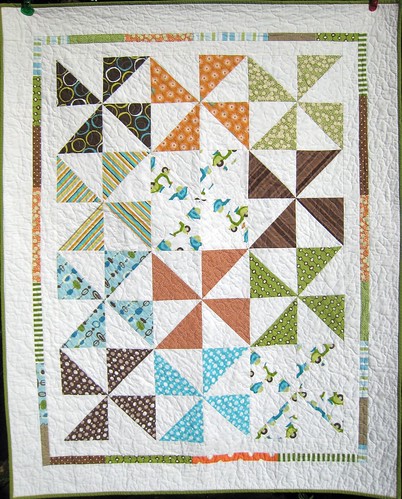
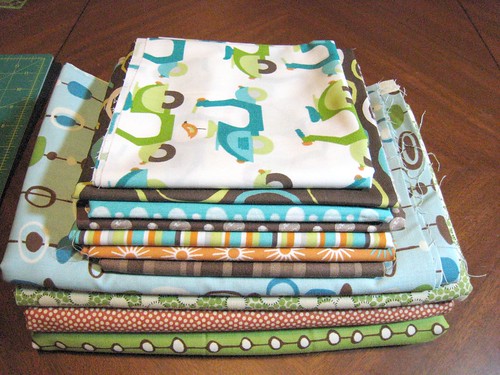
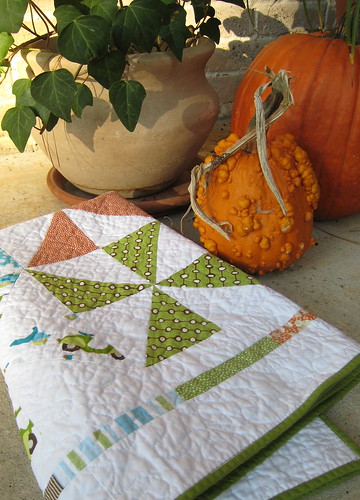
I pulled out an unfinished project to finish for Christmas. I didn't do my research ahead of time when I started this quilt, so I was making each square 1 at a time, and ended up putting it away because it was taking so long.
I found a great tutorial on Kate Conklin's blog on how to make Fussy Framed blocks, 2 at a time! The way she cuts her squares, gives you no waste, and your outer square is a continual design.
You can find that tutorial here. She has some great modern quilt designs. I love the "floating squares" border in this post. Maybe I'll try it on this quilt.
Tuesday, December 14, 2010
Friday, December 3, 2010
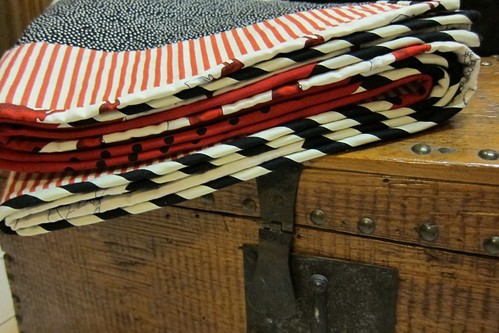
Laura's fish - in progress
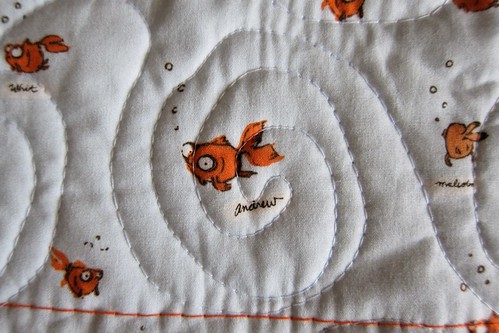
I couldn't wait to show you my latest project, I'm still hand stitching the binding down and have the basting to take out, but I'll give you a peek. I've always been intrigued by Heather Ross's designs, and one of my favorites is "Lightning bugs and other Mysteries" for Free Spirit. You can still find it being sold on etsy.
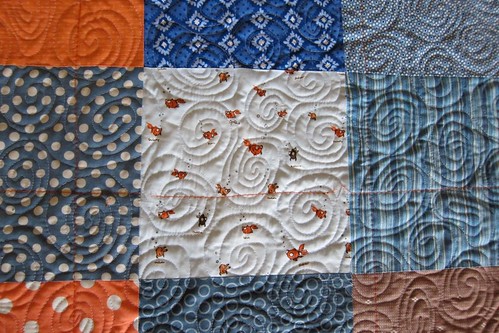
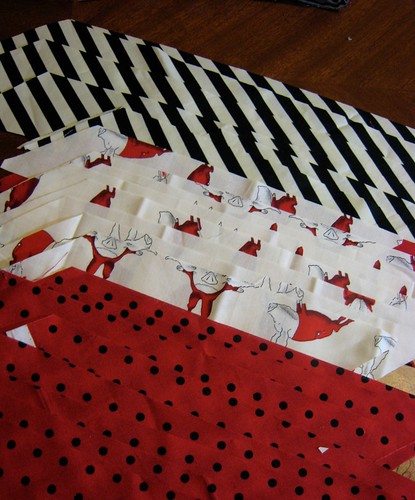
I knew this was the right fabric for a quilt for Laura who is a freshman "fish" in college this year (or is that term only used for high school?). It wasn't hard to find fun coordinating fabrics in my stash.
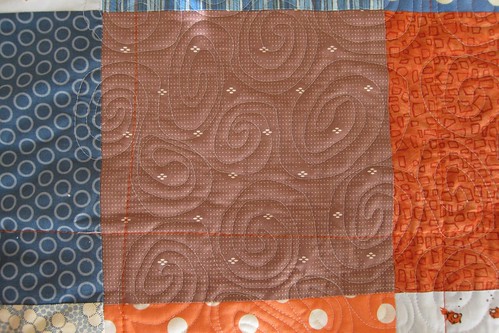
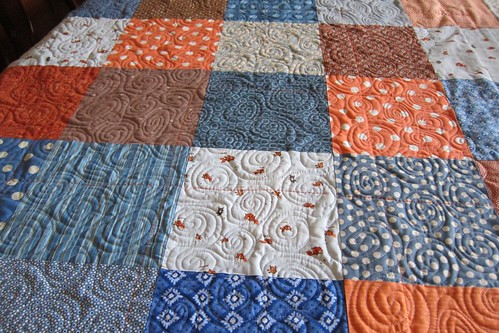
Ever since I discovered Kelly Wuldson's quilts at "Don't Look Now", I've been fascinated by her quilted circles, and decided that this was a good opportunity to try it out . . . I don't know if mine will ever look as good as hers, but it sure was fun.
Scotch-Blue Painter's Tape

I like to use "Scotch-Blue Painter's Tape" to insure straight lines when I quilt a grid pattern. It doesn't pull on my quilt when I remove it, and I can re-use the same strip, and the bright color makes it easy to follow.
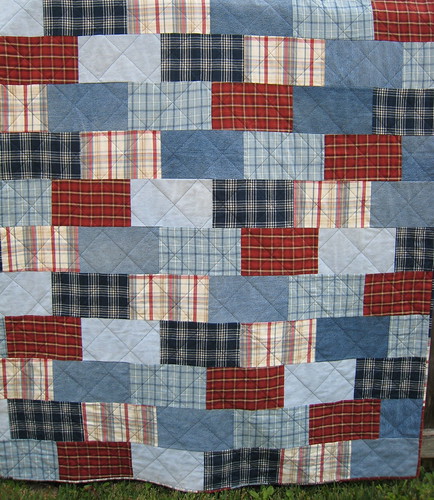
Lay your quilt on a flat surface, and lay a strip of tape in the desired direction along the middle of your quilt. Sew along both sides, being careful to not puncture the tape. Working your way towards the edges of your quilt, pick up the tape, reposition and sew.
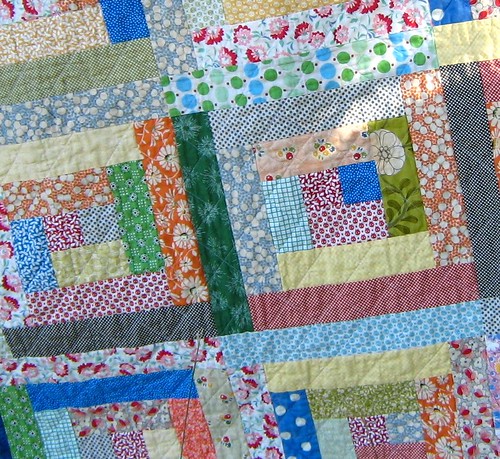
I used the 2 inch tape on this quilt.

You'll be amazed at how many widths you can find. My favorite is the 2 inch. I can always eyeball adding an inch or so as I sew along the side of the tape on my quilt.
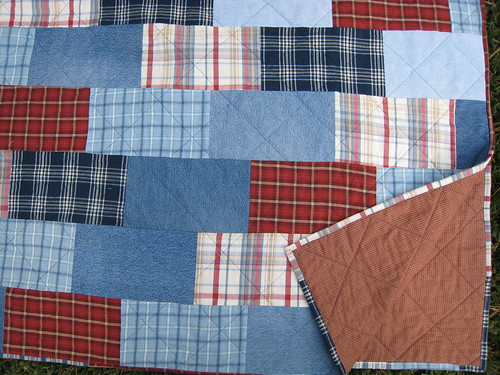
I lay 2, 2- inch strips down on this quilt to create 4 inches.

You can sew your grid design through out your whole quilt, or just portions of it.
Wednesday, November 24, 2010
Susan Brown bias ruler
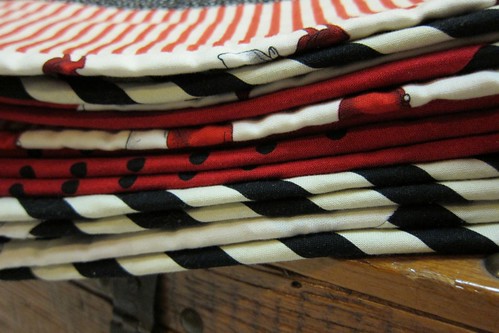
Although I'm not into having a lot of tools, I found one I couldn't refuse. My theory is, if I can do the same thing with tools I already have, I don't want another one. But I made an exception for this one because it really speeds up the binding process.

I learned about it while watching this tutorial from Missouri Star Quilt Company.
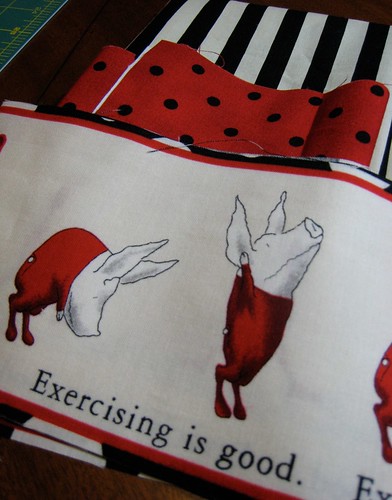
1/2 yard of 1 fabric will make enough binding for a twin size quilt, or you can make a scrappy binding using your "left-overs".
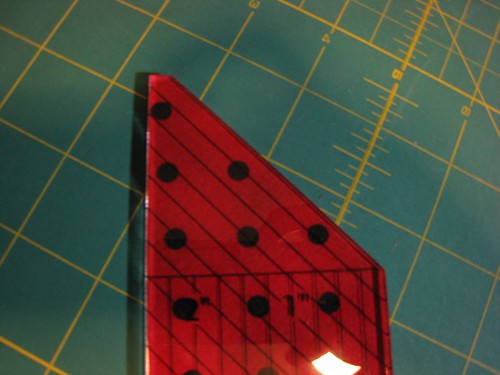
Cut your fabric according to the instructions. Ideally, the ruler is made to cut 2 1/2 in. strips. I prefer a 2 1/4 inch strip for my bindings if I'm using regular cotton batting. If I'm using bamboo batting, I go down to a 2 inch strip. It is fairly easy to make that adjustment with this ruler.
I love a scrappy binding, although this one isn't totally scrappy, there is some order to it. After you've cut your strips according to the ruler, the strips sew together very easy.
Monday, November 15, 2010
new kitchen curtains
We've been in our home almost 10 years now. I'd say it's time for curtains!!

I got my inspiration from this Pottery Barn catalog. I wanted a simple, yet elegant looking curtain, with rustic looking hardware.
The fabric is from an interior fabric discount center, and hardware from Joann's at 40% off.
I used some old sheets for lining. The length of the fabric is double the length of the window. The lining is a couple inches shorter than the front. I sewed a seam along the top and bottom and turned the sides in and hand sewed them.
Friday, November 5, 2010
Little Monsters by "Don't Look Now"
This cute little guy is on a quilt called "Little Monsters". It was created by Kellie Wulfsohn at "Don't Look Now!" She is a brilliant pattern designer, and uses the ancient technique of Trupunto in her designs. Kellie has a distinct style in her quilts which is very appealing to the eye (at least mine!)
Kellie and the other ladies that work with her are from Australia, and have beautiful accents. You should check out her blog. You can purchase patterns for her quilts and other items here.
You may notice that the prices are a little higher than your normal pattern price, but they are filled with all the drawings and instructions on her techniques. . . well worth it!
The pattern for this darling quilt, "Peak Hour", blogged here. It was featured in Homespun in June.
This one is called Alphabet Soup.
Kellie uses a Bernina for her quilting. In her blog, you can see that she gives lots of classes. I'll have to work Australia into our travel schedule so I can take a class to better learn her techniques. Think my husband will go for it? I'll leave the quilting part out of my initial approach :)
Thank you Kellie! for a wonderful showing in Houston.
Thank you Kellie! for a wonderful showing in Houston.
Saturday, October 30, 2010
INTERNATIONAL QUILT MARKET in Houston
I was asked by my friend Benay Derr, of Beany Boy Quilts to help with her booth at the Quilt Market in Houston this year. She is a fabulous new pattern designer of inter-active children's quilts, including a matching game behind leaves and flower pedals and pockets for children to put their favorite small toys in. Visit her website to order patterns.
Click here to see my pictures on flickr of my visit to Market, with it's exciting new lines of fabric, designers of fabrics and patterns, products and much more.
Click here to see my pictures on flickr of my visit to Market, with it's exciting new lines of fabric, designers of fabrics and patterns, products and much more.
Friday, October 29, 2010
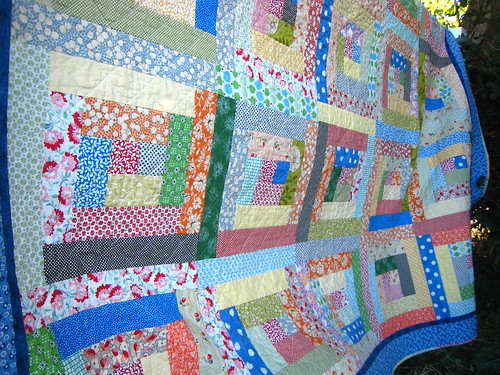
Scrappy Log Cabin Quilt

During the mid 1800's, Log Cabin quilts were hung outside to give messages to the slaves traveling the Underground Railroad. The different colors of the center square of the quilt signified signs of "safe houses" or danger.
Be creative with the center square of your block. It will change the look of your quilt.
Stats:
Quilt size - 78 inches square
QUILTING:
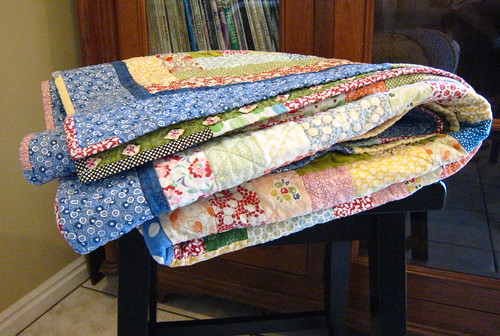
You can use your scraps for the binding. . . they're already cut to 2 1/2 inches and ready to go.
Enjoy checking out all the other quilts:

Stats:
Quilt size - 78 inches square
25 blocks
Finished blocks are 14 inches square
For a true "scrappy log cabin", follow these instructions:
CENTER SQUARE:
Cut 25- 2 1/2 inch squares of the same fabric. Traditionally, red is chosen for the center. These will be your CENTER SQUARES.
Cut 25- 2 1/2 inch squares of the same fabric. Traditionally, red is chosen for the center. These will be your CENTER SQUARES.
Cut 2 1/2 inch strips, of remaining fabrics, selvage to selvage (or use 1 jelly roll for a small quilt, 2 for a larger quilt). The more fabrics you have, the better for a scrappy quilt. This one has 20 different fabrics.
Put your strips of fabric into a big bag and mix them up.
Without looking into the bag (I'll be honest, I peeked), pull a strip out and sew it to a CENTER SQUARE. Since the strips from your bag don't have a fresh cross cut, align your CENTER SQUARE down 1/2 an inch from the top of the strip (3/4 if you are at a selvage), it will be trimmed later.
Continue until all CENTER SQUARES have a second strip sewn to them. Do not trim the long strip you just added until you have finished adding to all the CENTER SQUARES.
Press and trim the second strip so edges match the first CENTER SQUARE. After you've used a strip, put it in a separate pile. When you've used all the strips in your bag, start over.
Now add a 3rd strip to all your squares, being careful to add it in a counter close-wise direction. The diagram above shows the new or longer piece moves in a counter clock-wise direction.
Now add a 3rd strip to all your squares, being careful to add it in a counter close-wise direction. The diagram above shows the new or longer piece moves in a counter clock-wise direction.
Continue until all 25 CENTER SQUARES have 16 strips sewn onto them.
Trim squares to 14 inches.
QUILTING:
Use "Scotch-Blue Painters Tape" when quilting a grid design. Lay one strip down the middle of your quilt and sew 1/8th inch from tape on both sides. Then lift the tape off, and reposition for the next 2 quilting lines. EASY!!
I used the 2 inch Blue Painters tape for this quilt.

You can use your scraps for the binding. . . they're already cut to 2 1/2 inches and ready to go.
Enjoy checking out all the other quilts:

Tuesday, October 19, 2010
Friday, October 8, 2010
Munki Sampler
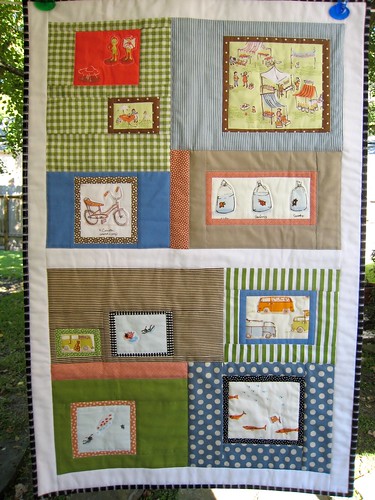
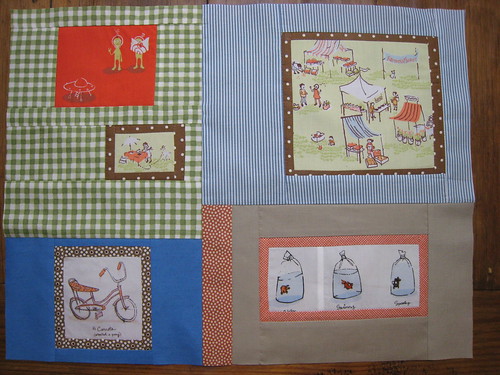
This project started out being place mats. Then one day, my son flipped his spaghetti all over the table. This project then became a wall hanging. It features some of my favorites from Heather Ross:
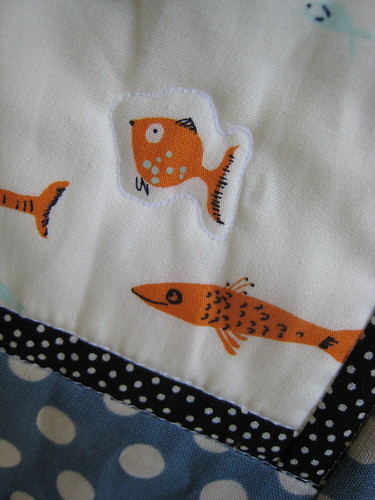
Heather's school of fish.

the market place
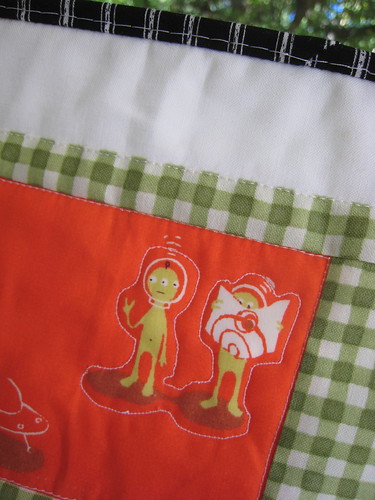
". . .how long does it take to get out of Texas?"

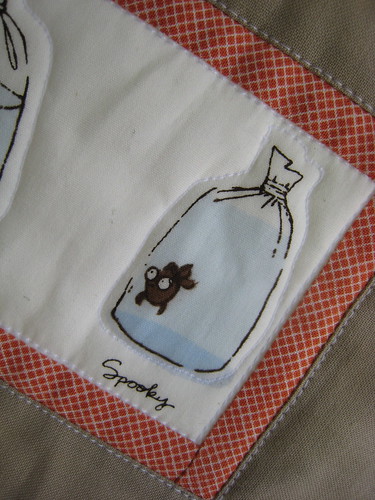
spooked!
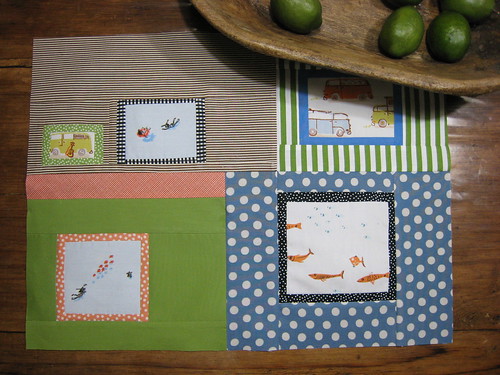
Tuesday, September 21, 2010
Westwood Pinwheels
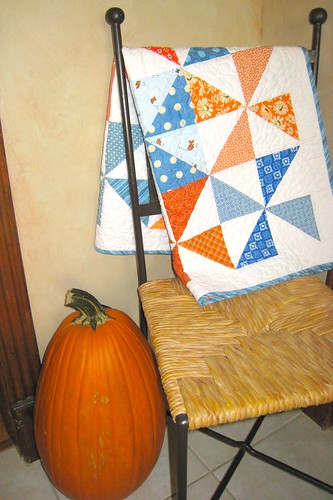
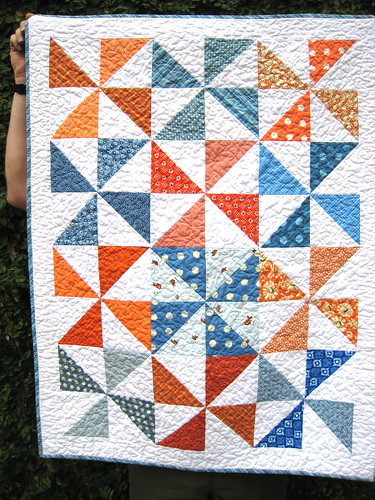
I recently discovered Missouri Star Quilt Co., video tutorials! Look at this fast and easy way to make pinwheels, here.
.
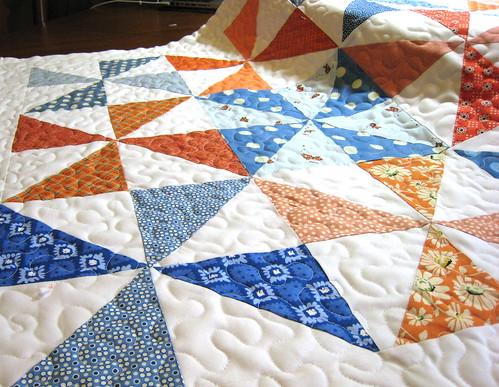
Stippling goes so fast. A stippled quilt lets my eye focus on the design and colors.


