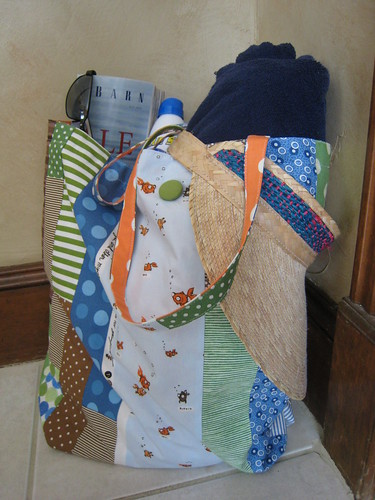
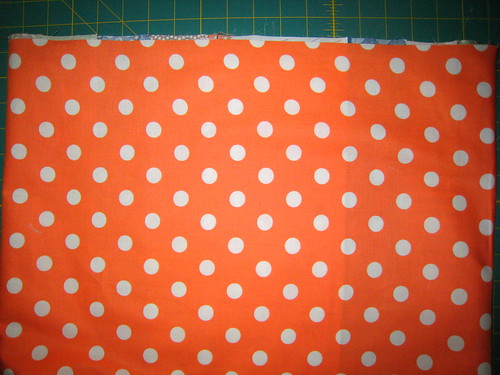
If you follow the instructions here, you will have a reversible bag, or a bag with a contrasting lining. I made a button hole, and a fabric covered button but you don't have to. All seams are 1/4" unless otherwise indicated. To make my instructions simpler, I will be referring to the "outer side" of the bag, and the "lining", which is orange.
Step 1:
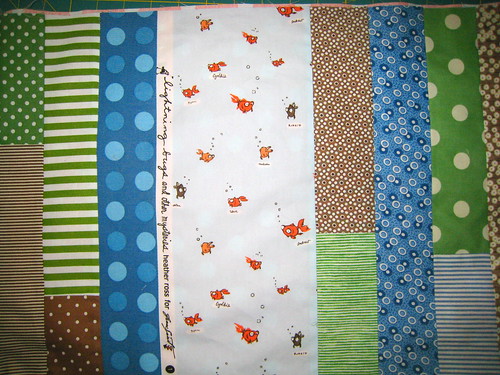
Cut (4) 19"x20"
19" will be the width.
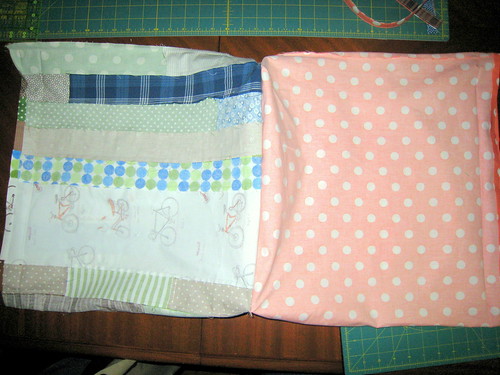
2 of these fabrics will be your outside and should be similar or the same, and 2 will be your lining.
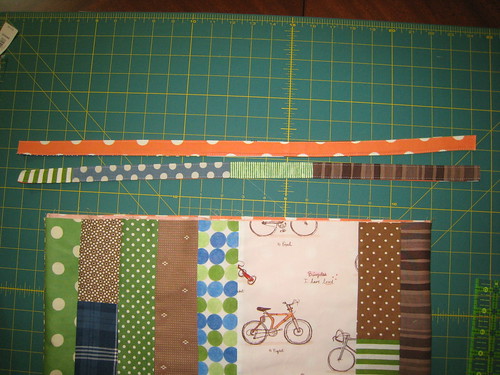
I wanted to make a scrappy outside, so I first picked my accent fabric, then I found some 2 1/2 strips that looked good with it.
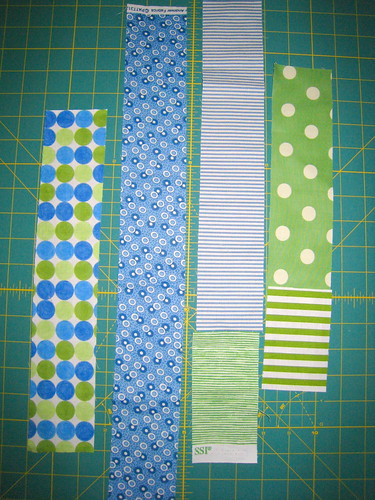
If you choose to make a scrappy bag, I suggest you make the sides an inch or two bigger, then trim down to the 19"x 20" when ready to assemble bag. If you are having a hard time making decisions on your fabric choices, start with 2 contrasting fabrics that you like, one for the outside and one for the lining.
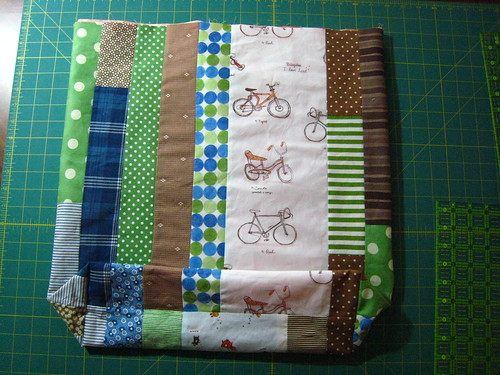
Front

Back
Lining
Step 2:
To assemble bag, sew the 2 outer pieces, wrong sides together, leaving the top open. Do the same with the 2 pieces for the lining. Turn bags wrong side out.
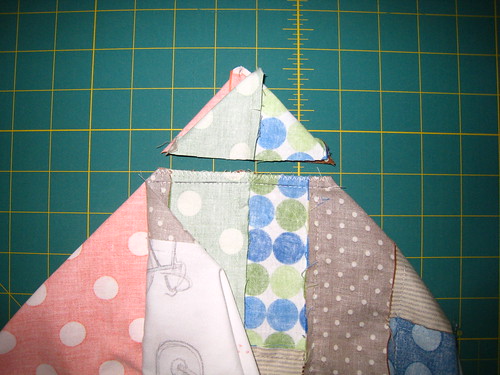
Open up the bottom of the "lining" (orange in picture) with your hands, lay it down on your cutting mat, forming an even angle triangle with the end of the sewn seam as the top tip of your triangle. The bottom seam of the bag should be running down the middle, facing up. Line up the folded sides with the 45 diagonal lines on your mat (not shown). This will help to make sure that your triangle is even.
Do the same with the outer part of your bag, butting the seam next to the seam already facing up. Lay your ruler flat across the triangle and find the spot 4 1/2" across from one side to the other. Mark with a pencil and pin both bags together. Sew on that line, twice for reinforcement, trim, and finish edges. Repeat for the other bottom corner of your bag.

Check your work. If done correctly, the bottom seam of both parts of the bag will make a circle.
Second check. If you square up your bag on the table, it should look like this. There are 2 - 4 1/2" seams, perpendicular to the table, holding the 2 bags together, one on each end.
Flip your bag, with the right side of the outer shell facing out and push out those corners with your fingers. It should look like this.
Step 3: Straps
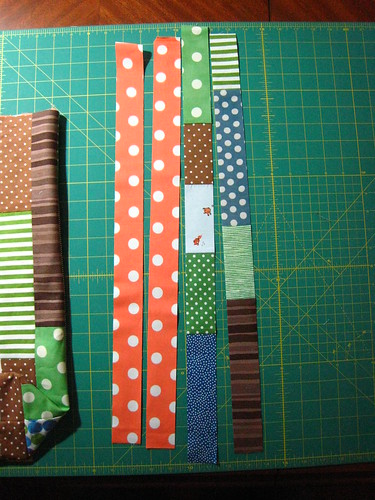
Cut (4) 1 1/2" strips 24 " long to create your straps. If piecing, make sure your finished strip measures 24". To make your bag reversible, you want 2 to coordinate with the outer part of your bag, and 2 to coordinate with the lining.
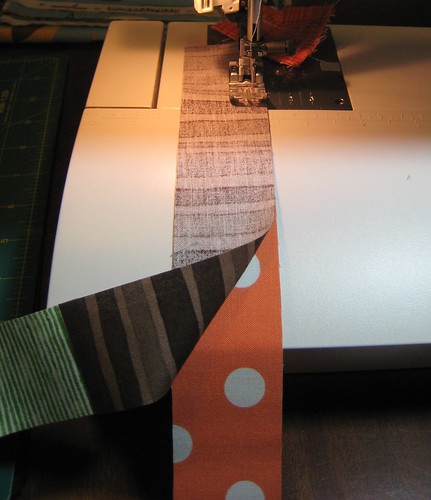
Take 2 contrasting strips and sew along one length with a 1/4" seam allowance. Repeat for second strap.
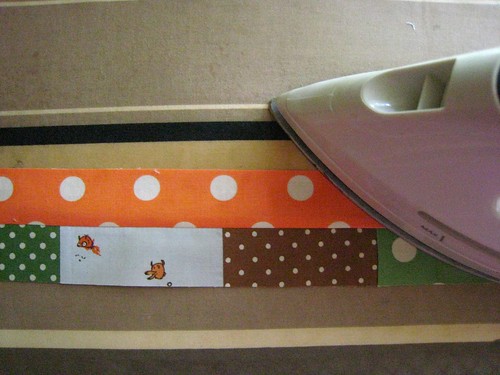
Press open.
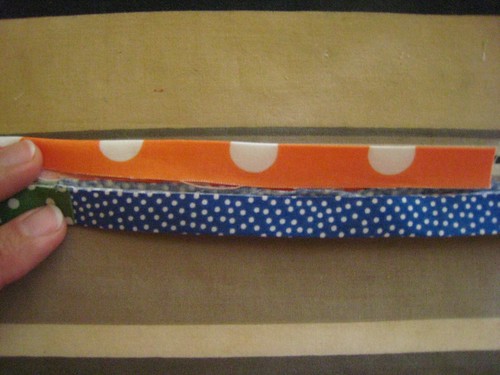
With wrong side facing up, press both sides down 1/2".
Fold together, press and top stitch 1/8" along each side. Take extra precaution to back stitch when you are sewing the strap together, and securing it to the bag.
Your straps are ready to be sewn on to your bag. Press down the top edges of your outer and inner parts of your bag.
At this point, you will want to measure where your button hole will be sewn, and put a piece of interfacing in between the layers (read more in button step).
Measure in 5" from the edge of your bag and insert a strap 1" in between both layers. Pin. Repeat with the end of that strap on the other side, measuring 5" from the edge. Pin the second strap on to the back side.
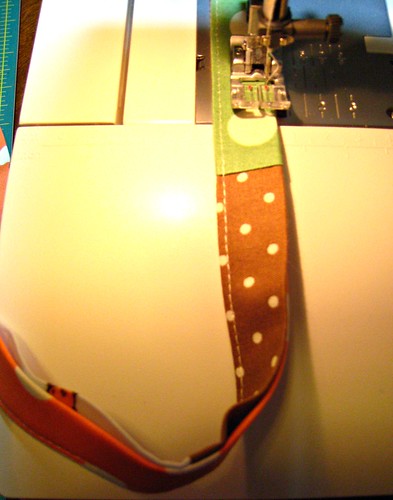
Top stitch 1/8" from top of bag all the way around. Measure 7/8" and stitch a second line around.
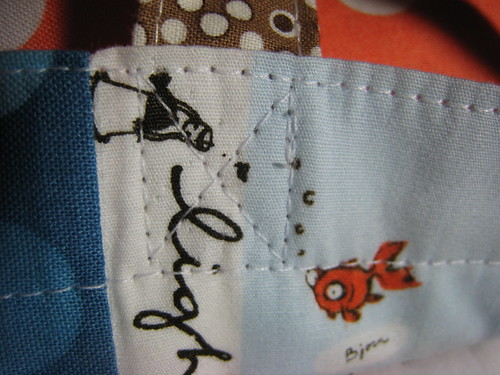
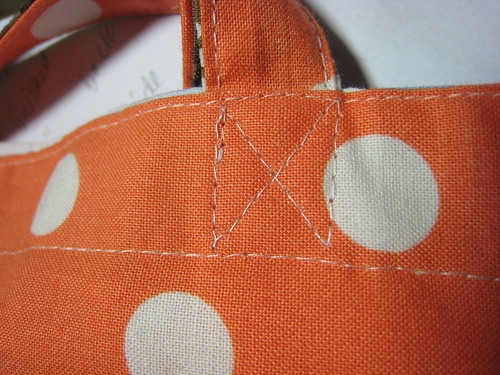
Sew an X where the straps are sewn into the bag for reinforcement.
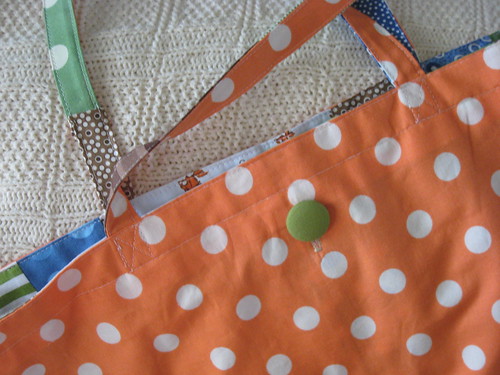
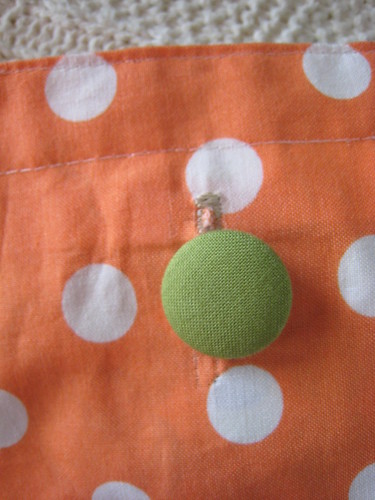
Step 4: Buttons
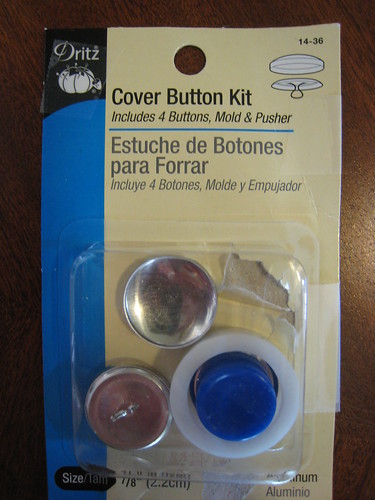
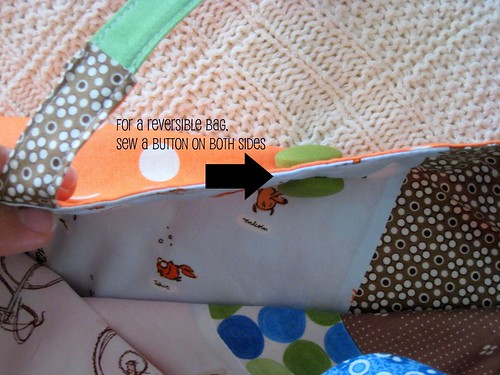
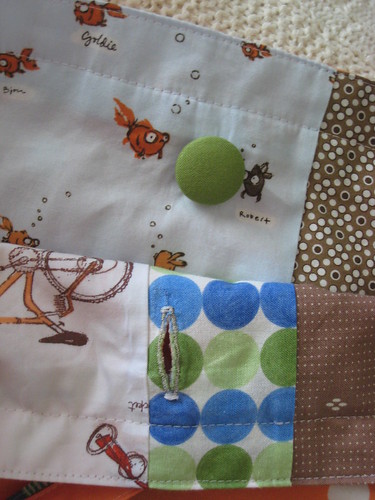
You can use any button you want, I chose a fabric covered button, 7/8". It was very easy to assemble, and it will give your bag a finishing touch. You will want to make 2 buttons if your bag is going to be reversible.
Your button should be a good contrast for both sides.
Decide where you want your button to be. Mark where top and bottom of button hole should be. If you haven't used your button hole accessory for 13 years like me, you may want to practice first. You may also want to put in some interfacing in between the 2 layers of your bag before top stitching it closed. Your button hole will stitch in easier if you do so.

The same day I was making this bag, I was prepared with all the ingredients and equipment to can 50 quarts of peaches. As I started the process, I soon realized that I did not have the "freestone" peaches, which are the kind that easily slip away from the pit. Therefore, I had to can my peaches whole. BAD NEWS!
The same day I was making this bag, I was prepared with all the ingredients and equipment to can 50 quarts of peaches. As I started the process, I soon realized that I did not have the "freestone" peaches, which are the kind that easily slip away from the pit. Therefore, I had to can my peaches whole. BAD NEWS!
I love the bag.... I'm sorry about the peaches :(
ReplyDelete