A sleeping princess dragon design was chosen by my spunky 7 yr old grand-daughter for a quilt. The instructions in the pattern are for a pieced quilt (in a language I don't speak or understand and this old dog does not learn new language tricks)
Pattern sourced in the stats.
The following is a detailed documentation of the process used to create this quilt.
Pattern design enlarged, details in the stats.
Patterns made with Golden Threads Quilting Paper from the enlarged pattern design.
Templates made with freezer paper, 4 layers thick, from the patterns above.
The pieced background top was made with 6" cut squares.
Half square triangles, 2 1/2" finished, for the body of dragon, making sure it covers the footprint of the dragon design.
1/2 square triangles are bulky where seams come together ... CLIP, stopping before the seam.
Instructions for this next part of construction are not documented (only in my head :) At night, lay in bed with closed eyes and determine the next step. That's how you do it :)
Throughout the construction process, support snacks are highly recommended (Pirates Booty are the current RX of choice. For additional support, add some form of "milk" chocolate with nuts and frequent rest periods)
Using the pattern pieces made with the Golden Thread paper and a water erasable pen, mark the footprint (blue line in photo) of the dragon onto the right side of the back-ground piece. Roughly pin dragon piece, right side up, onto the back of back-ground piece. Check to make sure the dragon piece on the back is bigger than the footprint drawn on the top.
Adjust as needed, making sure the hst dragon piece on the back is an inch larger than the marked footprint. Adjustments may include adding more hst to the dragon.
Sew the dragon and back-ground pieces together, with a tiny stitch length (1.5) on the blue footprint line previously marked. While sewing this part, the dragon piece on the back will not be visible. (refill of chocolate support highly recommended at this point)
After sewing the dragon onto the white background, trim 1/4" from the inside of the stitching line with small, sharp scissors, pulling away pieced background, revealing the dragon previously attached to the back.
Sew the underbelly piece of the dragon onto the hst piece. Appliqué remaining dragon body parts onto the top of dragon. (I chose to turn the edges under for a contrast)
Congratulations, you now have a new quilt top. (a celebratory reward is in order!)
DO NOT CLIP RAW EDGES AT THIS POINT.
Adhere new quilt top to batting. DO NOT INCLUDE THE BACKING AT THIS POINT, it will be added later. With matching thread, quilt wings and scales with a match-stick quilting design. (see "quilting line-up" info below)
Free-motion quilted with an HQ Sweet Sixteen.
Study the details of the following quilting order before starting.
DO NOT WASH QUILT BEFORE THE INDICATED TIME.
Quilting order:After quilting with a match-stick design onto the wings and scales, attach backing to quilt top/batting.
Quilt the outline of all dragon pieces.
Stitch-in-the-ditch the 1/2 square triangles.
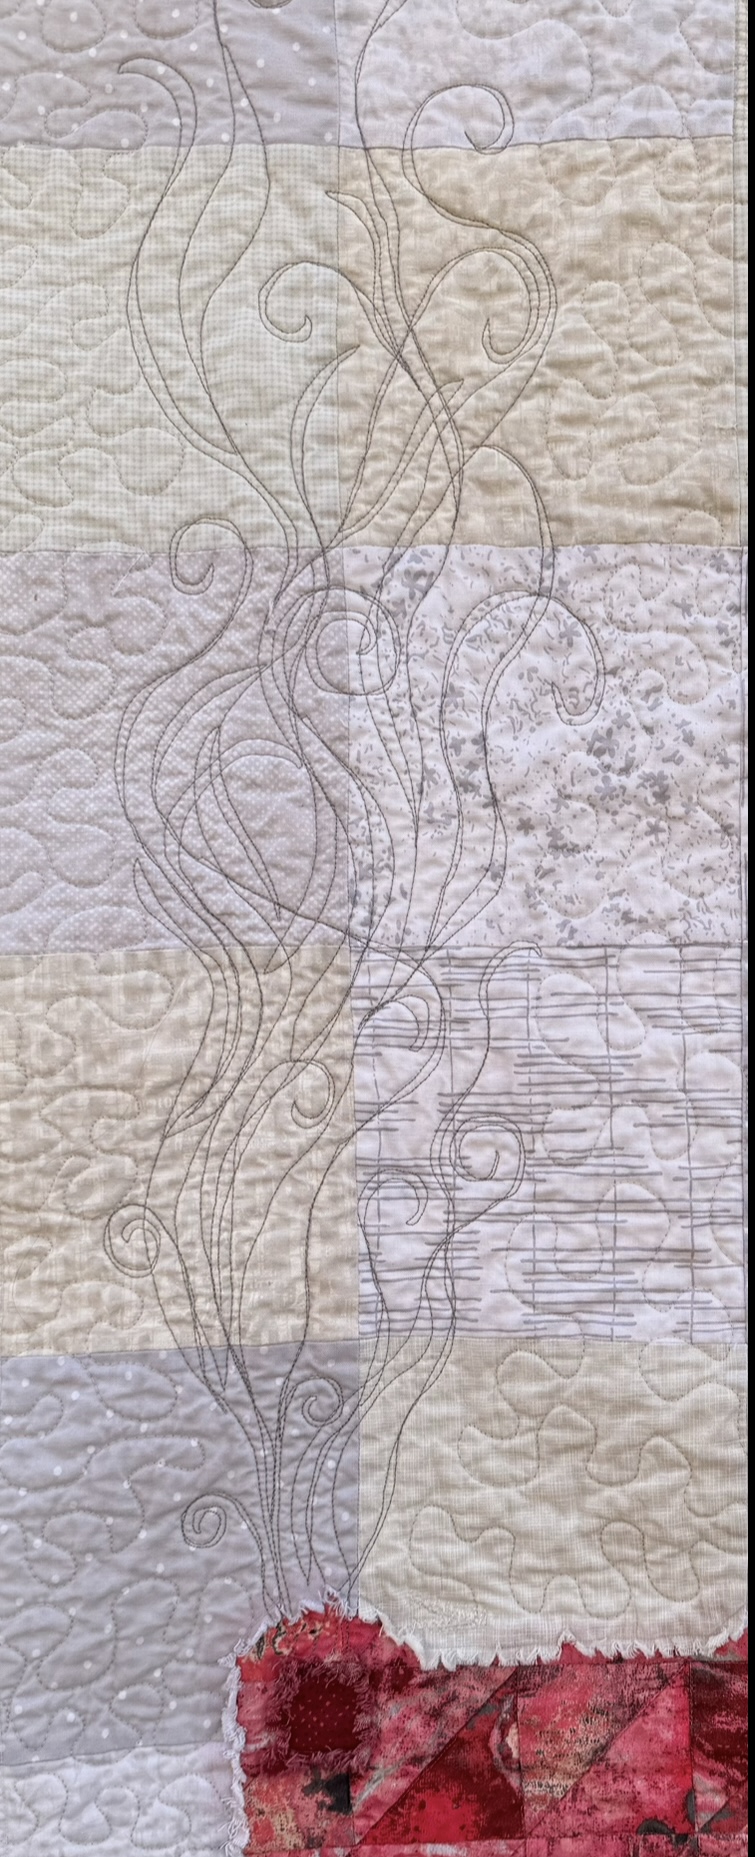
Quilt a small meander pattern over the background.
Look on the back at this point to make sure there are no large unquilted areas.
Free-motion quilt any additional details.

Always wear your invisible crown
"Always wear your invisible crown" was quilted along the top of the quilt in a thread that will blend in.
Sew 2 layers of chenille for the mouth and eyelashes with a 1.5 stitch length.
Using small, sharp scissors, clip raw edges making sure not to clip into the stitching.
Zigzag around the edges of the quilt.
WASH QUILT.
Additional washing/drying will help to fray the raw edges and chenille.
(A celebration w/ treats are now in order as you feel the excitement of your crinkled quilt coming out of the dryer. Traditionally this process is done during the late night/early morning hours. :)
Add embellishments.
A trip to the craft store with the future owner/grandchild of this quilt to pick out supplies for the tiara was in order. (in an attempt to create a special memory with this grandchild and her Nana)
A BIG button for the tiara was chosen :)
( .......more creative construction to invent :)

In order to remove the button for washing, create a button hole through the quilt. Attach jean pocket to the back of quilt over the button hole.
Pattern adapted from Dragon Dreams for Apples and Beavers, created by Astrid Bordush.
Fabric of dragon body is Spotted Graffiti designed by Marcia Derse for Wyndham Fabrics.
Background squares - 9 fabrics, 18" by wof . 6" cut squares, constructed 13 across x 16 down. (more or less :)
Bamboo batting (cooler for hot climates)
Back is "flannel backed satin" from Joann Fabrics (also for a hot climate, the satin gives a nice cool, sensory feeling)
Pocket is repurposed from a child's pair of jeans. (likely over-alls)
Tiara embellishments from Hobby Lobby.
Eyelashes, mouth and name on the back (not shown on blog post) made with "Chenille-It" by Blooming Bias - 5/8" wide. (Etsy has the best selection of colors)
Enlarge pattern design *
HST for dragon body are 2.5" finished using this method of instructions and math. Quilted on an HQ Sweet Sixteen
*Pattern design enlarged by a "Plotter Printer- 36 inches". (you will need to find a printer who has this machine). The printer will need a 8x11 with your design, cut in 1/2 lengthwise. Enlargements will come in two scrolls, 36" length of quilt.
Bind. Wash. Deliver. Loved.
Love this sassy, quirky squirt :)
100% of this quilt was made by ME :)
Disclaimer: Any details of these instructions may be incorrect.


